Raising Worms: A Brief Overview
Why raise worms?
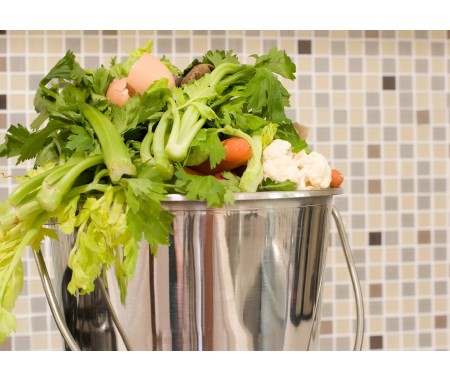
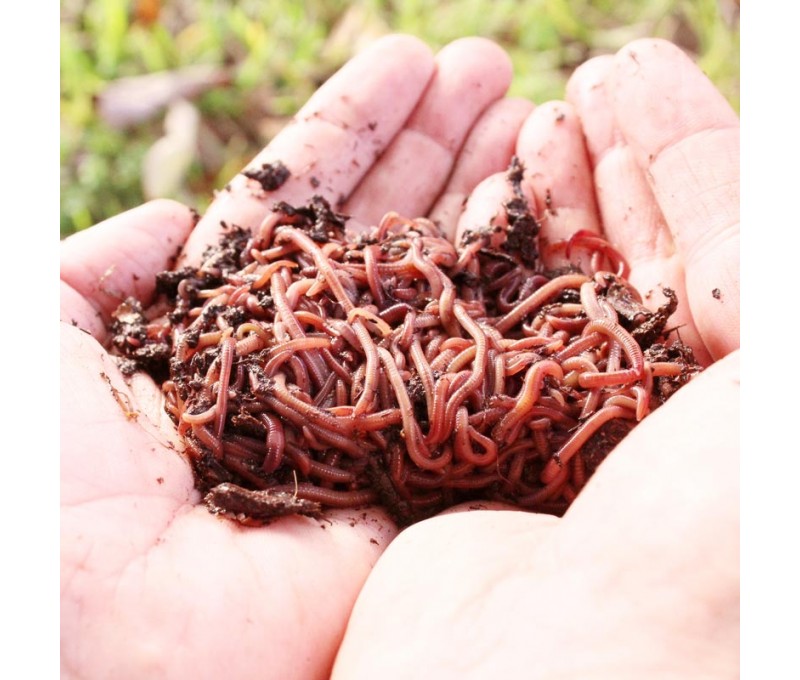
Raising worms is one of the easiest ways you can go green and reduce the amount of trash entering our landfills and water systems. Instead of throwing your kitchen scraps in the garbage can or down the sink disposal simply feed them to your worms! And if you enjoy gardening this is a great way to save money -- your worms will produce fertilizer for life! Worms can produce more compost, in a shorter time, with less effort, than any other tool known to the gardener or farmer. The compost which is produced by worms is of the highest grade, containing not only greater amounts of mineral nutrients in soluble form, but also containing a high percentage of castings that help to form soil aggregates, leading to a permanent improvement in soil structure. Are you a fisherman, too? Why pay $4.00 for a dozen worms when you can raise them yourself? Whatever your reason for raising worms, you will enjoy watching your critters grow, reproduce and recycle!Which type of worms are best for my garden?
The Alabama Jumper
You can add the Alabama Jumper directly into your yard or garden. Alabama Jumpers will thrive in just about any kind of soil, including packed clay, and will aerate and fertilize your yard and garden. These worms are very active and can burrow through the thickest soils with ease.Alabama Jumpers, like other worms, have three basic life requirements: food, water, and protection from harmful agents. Assuming that soil factors are favorable, an Alabama Jumper's population will grow only insofar as additional organic matter is incorporated into the soil. This may come in the form of compost, manure, decaying plants, or organic wastes of a wide variety. These materials can be either be added to the top of the soil or can be turned under (but never with a garden tiller, you will destroy all of your worms!). Whichever way it is added, organic matter is essential to encouraging greater numbers of worms in the soil. In addition, once an earthworm population has been increased, enough organic matter must be supplied periodically in order to maintain that increase.
Ensure that you have plenty of leaves, hay, or any organic material in place before adding these worms so that these critters have a good food supply. Ensure your soil is moist then add worms right before the sun goes down. Distribute your worms evenly and cover with soil.
Which types of worms are used for composting?
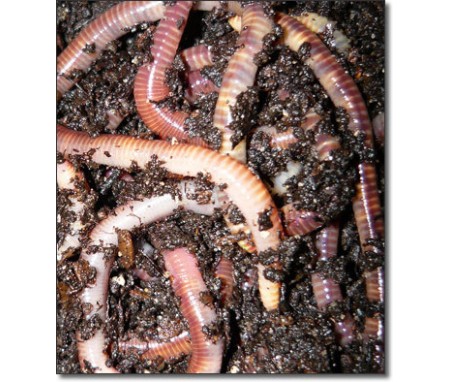
There are three breeds of composting worms that are available on the market today. They are known as the Red Wiggler, African Nightcrawler, and European Nightcrawler. Each will compost your kitchen scraps; however, they have differences in their size, color, and habit requirements.The Red Wiggler
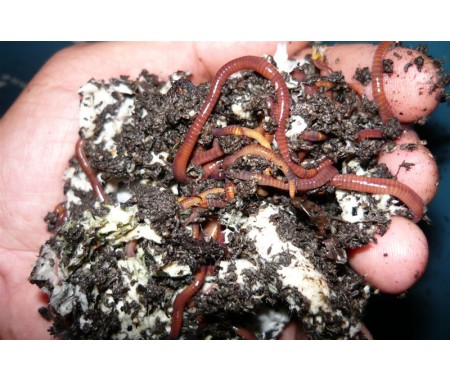
Red wigglers are a superb choice for efficiently composting your kitchen scraps and paper waste. They have a voracious appetite, thrive in a densely populated habitat, and are tolerant of a wide range of environmental conditions. They are not easily disturbed by the turning and raking of bedding that is necessary when adding food scraps or checking the progress of decomposition in your worm bin. These qualities translate into the perfect species for the vermicomposting beginner.
The European Nightcrawler
The European nightcrawler is an outstanding choice for composting as well. These worms will quickly compost your kitchen scraps and will also thrive in a densely populated habitat. Like the Red Wiggler, this worm tolerates a wide range of environmental conditions. However, they are a little sensitive to disturbing their bedding. It can impact their breeding cycle if they are disturbed too much. However, as you will learn, you don’t have to stir up your worm habitat bedding to effectively compost organic material so your Europeans should be fine.
The African Nightcrawler
The African Nightcrawler is also a very popular worm amongst home-composters. It grows longer than the aforementioned species and will process your organic waste quickly. It is one of the kings of the worm castings industry, and is known for the large quantities of castings they can produce in a short amount of time. So if you are a gardener, this could definitely be the worm for you! However, I only recommend this worm for beginners if they have done some research into favorable habitat conditions as this worm is does not tolerate cold temperatures and is more sensitive to low pH levels.
Where can I raise composting worms?
Worms need only a few requirements in which to successfully live and breed. These requirements are moisture, darkness, and food. These conditions can be found in any outdoor compost pile, which is definitely the easiest type of worm system to maintain. But, because these requirements are so easily produced, many people choose to build a bin they can keep indoors, which also has its advantages.Worm Bins
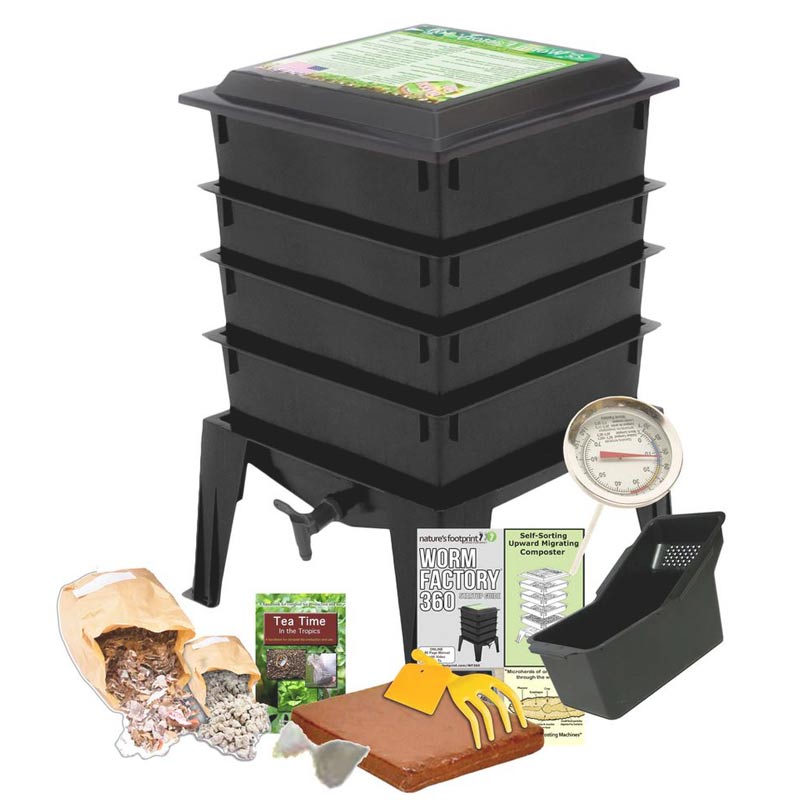
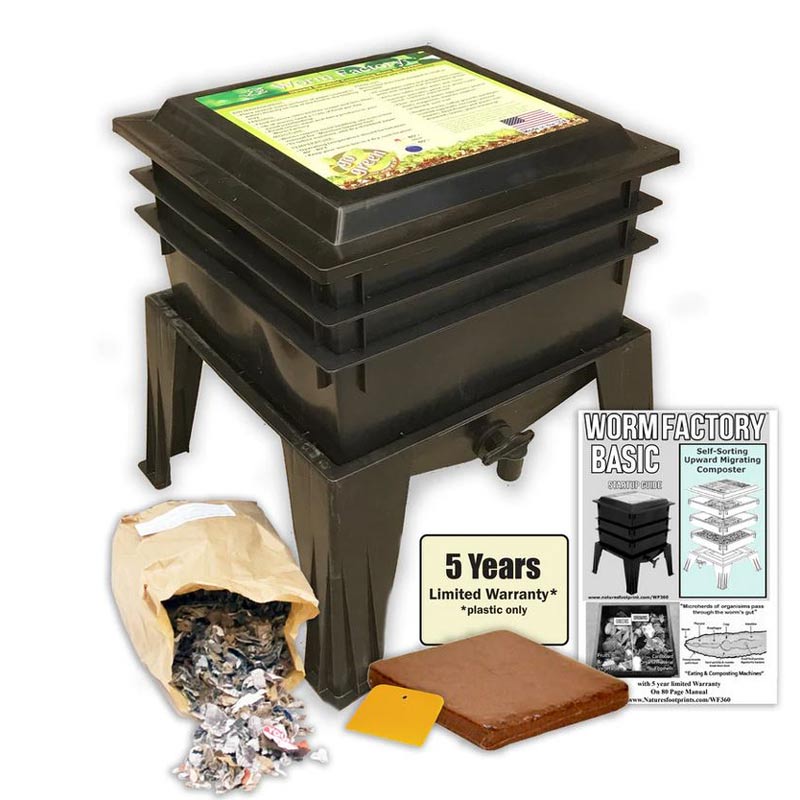
 Many people who are new to raising worms begin raising them in a Do-It-Yourself plastic storage bin or a manufactured worm bin system. The convenience of portability along with the fact that most folks will not be raising populations in the tens of thousands makes the indoor worm bin system an easy project. And for those
  who are contemplating raising worms on a large scale, the worm bin is a smart way to learn how to raise them in a controlled environment before making a big investment. Because the extremes of heat and cold climates can be harmful to worms, raising them indoors ensures that their environment will always be climate controlled. You can put the bin in your garage (if cool), basement, closet, spare bedroom or your porch. If you decide to keep your bin outside, keep it away from direct sunlight. For those of you living in the south, putting your bin outside may be too hot during the summer months -- the combination of heat and humidity definitely becomes a factor when raising worms in a plastic bin that isn't designed to insulate against that kind of weather.
Compost Pile
 Hey all of you gardeners out there -- did you know that worms are the most efficient composters in nature? Your pile will be composted ten times faster with worms than without them. One of the advantages of a maintaining a garden compost pile is that the finished vermicompost is conveniently close to your fruits and vegetables. Making a compost pile is easy -- just get yourself some chicken wire and make a simple enclosure (this is optional), find a nice shady spot, rake up some dead leaf or grass mulch and add some kitchen scraps. Water thoroughly and add worms in a week or two. You can add any of the three types of composting worms listed above to your compost pile. You'll even discover that your compost pile will begin to attract a lot of the native species of worms you have in your yard (this only applies to areas that have native species -- some places may not have worms such as New Mexico and Arizona). To add them to your pile simply dig a hole in the but not soggy as this could make you pile heat up too fast.
What size bin do I use?
You will want a bin that gives enough space to house your worms and bedding. For do-it-yourselfers, an 18 gallon (give or take 2 gallons) bin is a good size to start with. Starting with 3 pounds of worms gives you a good amount to process your kitchen scraps. This amount also allows enough room for your worms to reproduce as our worm bin can hold upwards to around 5 pounds of worms.Use only opaque bins. See-through bins will stress your worms as they will continually dig toward the center of your bin trying to get away from light.
If you choose to go with a Worm Factory you will need to assess how many trays and how many pounds of worms you want to begin with. If you have any questions please to not hesitate to contact Worms4Earth!
What kind of bedding do I use for my bins?
There are several types of bedding that you can use. I'll outline the most popular types and list some pros and cons of each type.Shredded Paper
 A readily available source of bedding is newspaper. You will need to shred the paper before putting it in your bin. You can hand shred it or use machine shredded paper. In my opinion, though, hand shredding is better as it doesn't clump or get matted together. If you choose to hand shred your paper make sure the strips are no greater that 2-3 inches wide. You will also need to moisten the paper before adding it to your bin. You can mist it with a spray bottle or soak it and wring out so it isn't soggy. One of the advantages of paper is that worms can survive in it without adding any kitchen scraps. But, although they won't starve to death eating just paper, a paper-only diet will produce very small worms.
Pros: Readily available, clean, no dust, odorless, easily prepared (if machine shredded).
Cons: Tends to matte, making it difficult to bury waste, preparation time (if hand shredded).
Coconut Coir
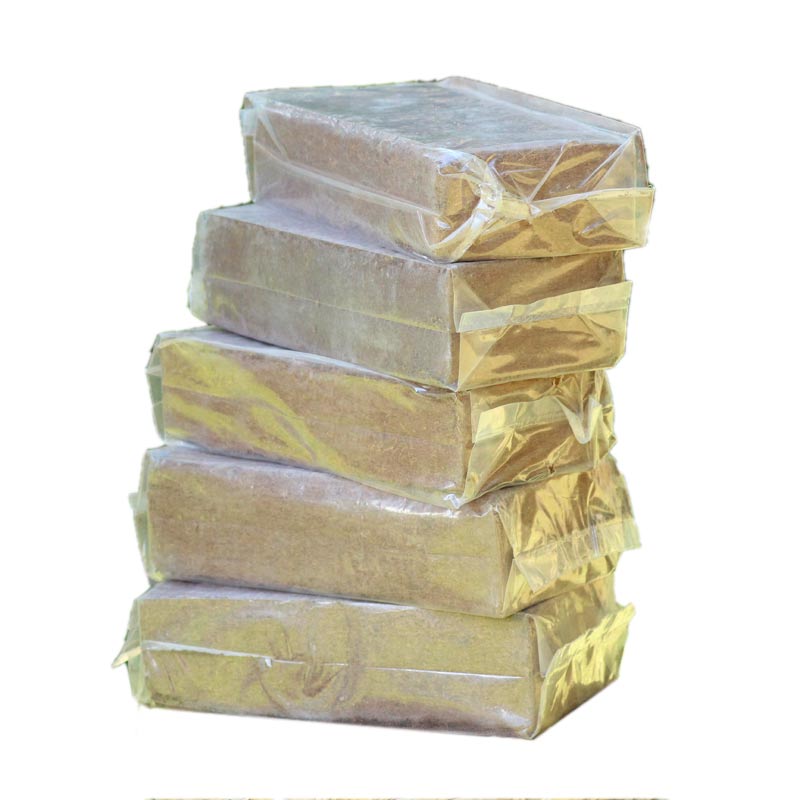
 Coconut fiber, or coir, is a renewable material that has traditionally been used used in products such as floor mats, doormats, brushes and mattresses. In recent years it has become in the hydroponic growing industry as well the worm, or vermiculture, business. It is a natural fibre extracted from the outer husk and is found between the hard, internal shell and the outer coat of a coconut. It is an affordable and clean bedding material option that keeps its height without too much compression by maintaining air pockets for air flow -- your worms are able to move around freely and easily. Coconut coir provides a comfortable environment for worm life, creating an ideal burrowing environment that is neither too dry nor too damp. It is a super absorbent and holds water and nutrients effectively.
 Pros: Clean, odorless, mixes well with other bedding, retains moisture well, renewable source.
Cons: May be difficult to find, no nutritive value for the worms
Manure
 Manure can be used as either bedding or food and is generally used for outdoor worm beds and compost piles. You can use rabbit manure, composted cow or horse manure to top off your bin if you use peat as bedding. Rabbit manure is especially attractive for worm farmers because it is a "cold" manure -- it does not need to sit for weeks composting before adding to your worm bin. The manure already contains loads of microorganisms that worms thrive on. Worms LOVE manure and thrive on the nutrients available within it. Manure is a natural habitat for composting worms and contain many of the organisms vital to an earthworm's growth.
Pros: Highly nutritional, often free when obtained from local stables or farms.
Cons: Fresh cow and horse manure will heat up when fresh and needs to compost several weeks before use. May contain de-worming drugs.
Peat or Sphagnum Moss
 Peat has long been used as a source of bedding for worm habitats as well as a soil conditioner in the horticulture industry. It originates from a genus of approximately 380 species of mosses that form large mires and bogs. It has excellent moisture retention and is readily available from your local garden or home improvement store. You will need to moisten the peat before adding to your bin. Soak until completely saturated, keep it soaking for 24 to 48 hours, then squeeze until just damp like a sponge. Keep in mind that, although worms will consume peat, you must feed your worms because peat has no nutritive value.
Pros: Readily available, retains moisture.
Cons: Recognized as being environmentally unsustainable, can be acidic.
Feeding - What, How, and How Much?
What Do I Feed Worms?
The earthworm is an eating machine. It literally eats the earth as it burrows through it. Material that is too large to ingest will be pushed aside with its "head" (prostomium). Worms don't have teeth, so the material they eat is first moistened in their mouth then passed into their gizzard which acts like teeth and grinds the food. The food is then passed to their intestines which absorb the nutrients contained within. Whatever the worm doesn't digest is then passed out of their bodies as nitrogen rich worm castings.When it comes to kitchen scraps, worms are able to consume just about everything you humans can, with the exception of a few items. Listed below are the biggest "don'ts" -- anything that is not listed should be ok to add to your bin or compost pile. If you are unsure, the best rule of thumb is to error on the side of caution and do not feed it to your worms.
Do Not Feed Worms the Following:
- Meat and Bones - Decaying meat produces offensive odor. May attract flies, rodents, ants and other non-desired pests. Bones will not be processed by worms.
- Salty snack food or Fast food - Big Macs, potato chips, french fries and olives are a few examples. You can soak salty foods overnight, pour off the water, then feed to your worms.
- Pet feces - Dog or cat feces do not belong in your worm bin as they are not properly processed manure. May contain viral or bacterial toxins.
- Green grass - A big mass of yard clippings will decompose thermophilically and will create high temperatures that are harmful.
- Alcohol - Very toxic.
- Excess citrus fruit - Citrus fruit contains a substance called limonene that can be toxic to worms in large quantities. You can throw in some orange peels -- just not 15 oranges at once!
- Pressure-treated wood - The active ingredient is cyanide which is toxic to worms in small quantities.
How Do I Feed Worms?
When you feed them your kitchen scraps don't distribute the food evenly throughout the bin. Instead, put the food in the corner about halfway down into the bin. Then cover and check back in a week. You will notice that a lot of your worms will have gathered in the area you put the food! When the food is almost gone you can repeat in the opposite corner of the bin.How Much Food Can Worms Eat?
Just as important as what to feed your worms is how much. If you have researched the internet you will find a ton of data stating that worms will eat half of their body weight daily. This is a half-truth -- as worms crawl throughout the soil they can ingest half of their body weight a day, but not all of what they consume will necessarily be from the kitchen scaps you are feeding them. A simple way to determine how much to give them is to make a fist -- note how big your fist is and put that much food in your bin. Check back in a week, note how much is left and add more when needed. You will soon get a feel for how much your worms are consuming and will be able to add more food accordingly.Harvesting Worm Castings
When To Harvest Castings
 After a measure of time that can be from between 1 to several months (depending on worm population density) you will notice that most of the original bedding has been converted into a rich, dark earthy material. This dark material is the worm castings, also known as vermipost. When most of the original bedding has been consumed it is time to move your worms into a fresh bin of bedding.
How To Harvest Castings
Now that it is time to harvest your worm castings you will need a tarp or sheet of plastic large enough to pour the contents of your bin upon. Choose and area with a good amount of indirect light, empty your bin onto the tarp, then separate the big pile into several smaller piles. Give the worms about an hour to crawl to the bottom of the each pile (if you do this under direct sunlight cut you wait time in half). Then carefully scoop up the "wormless" vermipost and place its own container. Now take your exposed worms and put them in a freshly bedded bin. It may be a little cumbersome at first, but you will get faster with practice.
Alternatively, you can build or acquire a sifter through which you can separate the bedding from your worms.

