Choosing the Right Worm Habitat: A Complete Guide for Vermicomposting Beginners
Before you start your worm farming journey, it’s important to consider several key factors that will determine the success of your worm habitat:
What is my goal for raising worms?
Will I raise worms indoors or outdoors?
What type and size of container should I use?
Which worm species should I raise?
Can my local climate support outdoor worm composting in winter?
What will I feed my worms?
Answering these questions will give you a clear understanding of how to set up and maintain a successful worm composting system.
Once you’ve determined your goals and selected the appropriate worm species, your next step is choosing the best habitat. Your worm bin’s size, material, and design will directly impact the productivity and health of your worm colony.
Types of Worm Habitats: Prefabricated vs. Constructed
There are two main types of worm habitats:
Prefabricated Worm Habitats – Ready-made containers, typically plastic, such as storage bins, buckets, coolers, or specially designed worm composters.
Constructed Worm Habitats – Custom-built structures made from wood, cement blocks, or other materials, often used outdoors or in large-scale worm farms.
Prefabricated bins are ideal for beginners and indoor use, while constructed worm habitats are better suited for outdoor or commercial vermiculture setups.
Popular Types of Prefabricated Worm Habitats
Plastic Storage Bins
Pros:
Lightweight and portable
Widely available and affordable
Variety of sizes and colors
Cons:
Difficult to move when full
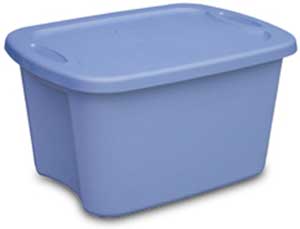 Plastic storage bins are a favorite among DIY worm farmers. They’re rectangular, made of durable plastic, and are available in many sizes. A 16–18 gallon bin is ideal for most beginners—it offers enough space for worms to feed, reproduce, and grow while remaining easy to manage and relocate.
Tips for success:
Use opaque, dark-colored bins to protect worms from light.
Drill 5–10 drainage holes (1/8 inch) in the bottom.
Place the bin over a reservoir, such as a tray or second bin, to collect worm tea (excess moisture from decomposing food).
Plastic Buckets
Pros:
Extremely portable
Inexpensive
Ideal for small spaces
Cons:
Smaller capacity = smaller worm populations
More frequent maintenance
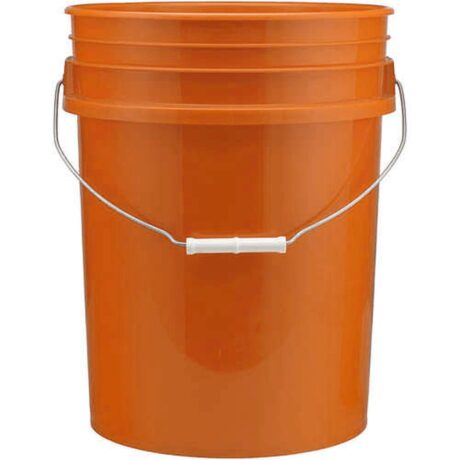 Plastic buckets (typically 5-gallon) are compact and great for creating a modular worm composting system. They’re easy to find at hardware stores and simple to convert into worm bins.
Like storage bins, drill 5 evenly spaced drainage holes and use a lid or spill tray underneath to collect excess liquid.
Bathtubs and Freezer Chests
Pros:
High capacity
Insulated and durable
Great for large-scale worm composting
Cons:
Very heavy and hard to move
Not easily sourced
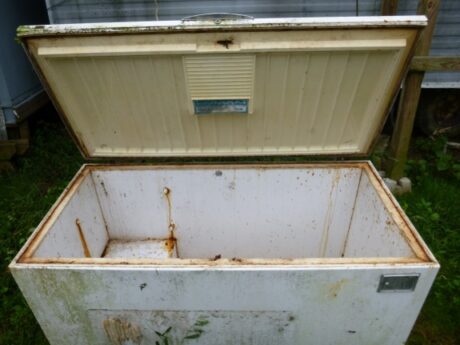 If you have an old bathtub or chest freezer, consider repurposing it into a large worm bin. These containers offer excellent insulation and drainage. Just keep in mind:
Setup is typically permanent due to weight
Maintenance takes more time
Larger volume means slower fill time and longer harvest intervals
Manufactured Worm Bins
Designed specifically for worm composting
Easy to maintain
Durable and efficient
Cons:
Can be expensive
Replacement parts may be required
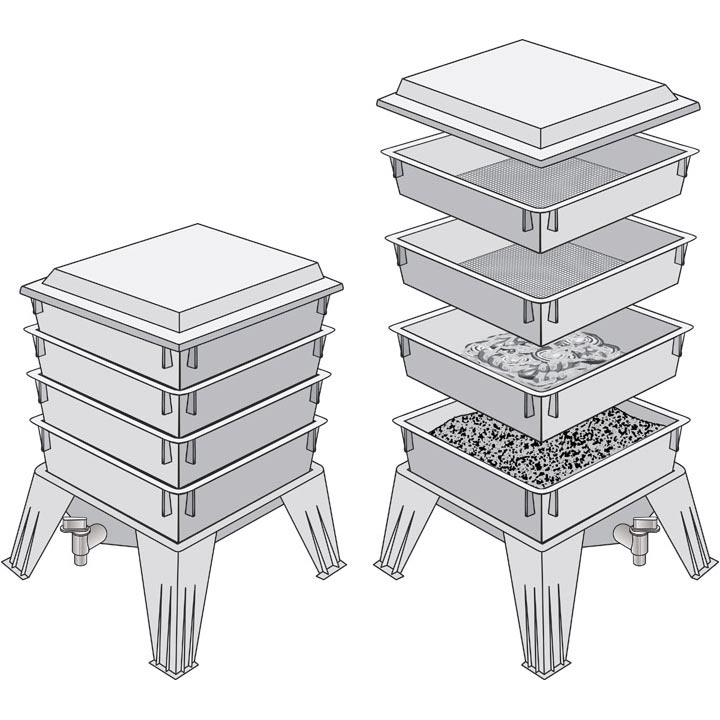
Manufactured worm composters are purpose-built for efficient vermicomposting. They generally come in two designs:
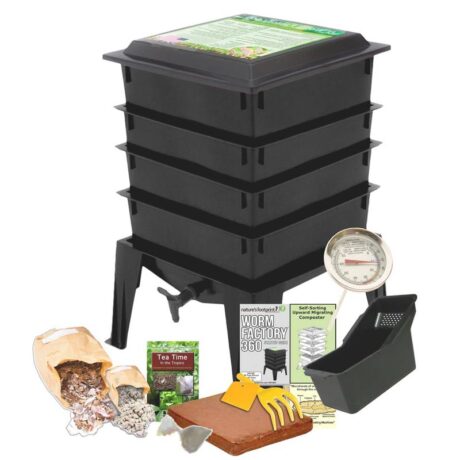 Upward Migration Systems
These use stackable trays with perforated bottoms. As worms finish composting one tray, they migrate upward toward new food, leaving behind worm castings for easy harvest.
Flow-Through Systems
These bins use a mesh or grid bottom, allowing castings to fall through naturally. They’re ideal for large-scale or commercial worm farms and allow for continuous harvesting.
Other Repurposed Containers
Pros:
Environmentally friendly (recycling old items)
Wide variety of options
Cons:
Avoid containers made of iron, copper, or brass
Creative vermicomposters often repurpose items like camping coolers, totes, or fabric grow bags. Just ensure the container:
Measures at least 12” L x 12” W x 6” D
Is non-toxic and safe for worms
Can support drainage holes
Includes a lid to protect worms from light and predators
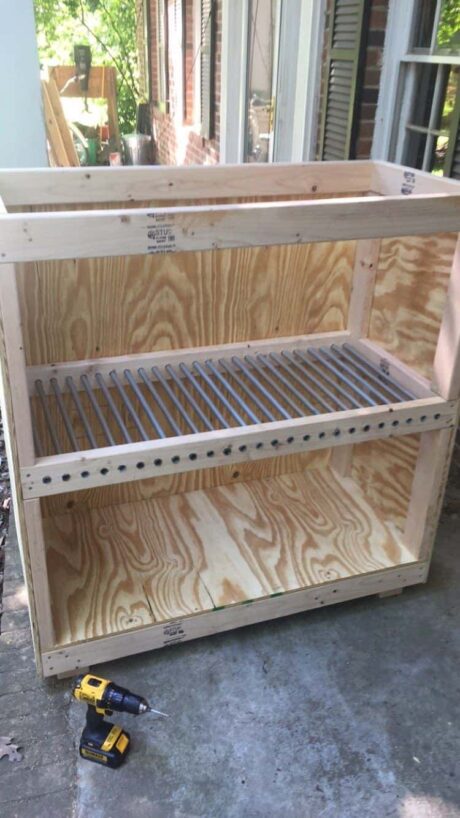
Constructed Worm Habitats
For most beginners, prefabricated worm bins are sufficient. However, custom-built worm habitats may be ideal if you:
Want to raise a large number of worms
Have extra space like a barn or garden shed
Enjoy building your own systems
Examples include:
Windrows (long outdoor worm beds for large-scale composting)
Indoor shelf systems for tight spaces or controlled environments
Constructed systems are more common among commercial worm farmers and require more planning, tools, and materials.
Final Thoughts
Choosing the right worm habitat depends on your composting goals, available space, budget, and climate. For most beginners, a prefabricated bin like a plastic storage container or bucket will be more than sufficient to get started.
Whether you’re setting up a small indoor bin or planning a large worm farm, the key is to create a comfortable, well-drained, and well-ventilated environment where your worms can thrive. With the right habitat, your worm composting journey can be productive, sustainable, and incredibly rewarding.